Secure EC2 Access Without Opening Port 22: SSH over AWS Systems Manager
by Jérôme Dauge, Co-Founder
If you've worked with AWS EC2 instances, you've probably used SSH to connect to them. It's the traditional way—simple and familiar. But let's be honest: traditional SSH access comes with some serious drawbacks that can compromise your security posture and complicate your operations.
The Problem with Traditional SSH
When you SSH directly to an EC2 instance, you're opening yourself up to several challenges:
Security Risks: You need to keep port 22 open to the internet (or at least to your IP ranges), creating a potential attack surface. The 22 TCP port is a well-known target for automated attacks and malicious actors.
Key Management Headaches: Private SSH keys need to be distributed to team members. How do you share them securely? What happens when someone leaves the company? You have to rotate keys, redistribute them, and hope nobody stored them insecurely along the way.
Limited Visibility: Who's actually connected to your instances right now? Traditional SSH doesn't give you the audit trail and monitoring capabilities you need for compliance and security.
Network Constraints: Your EC2 instances need to be in public subnets with public IPs attached, which contradicts security best practices of keeping resources in private networks whenever possible.
These aren't just theoretical concerns—they're real challenges that development and operations teams face every day.
Enter AWS Systems Manager
Fortunately, AWS provides a better way: AWS Systems Manager (SSM). If your EC2 instance has the AmazonSSMManagedInstanceCore policy attached to its instance profile, you're already set up to use SSM! No port 22, no public IPs, no shared keys—just secure, audited access to your instances.
SSM Session Manager creates secure connections to your instances through the AWS API, which means:
- No need to open inbound ports
- No need to manage SSH keys
- Works perfectly with instances in private subnets
- Full audit logging of who connects and what they do
- Centralized access control through IAM policies
Setting Up the Infrastructure
Let's walk through setting up a secure environment where SSM is the only way to access your EC2 instances. Here's a CDK stack that creates everything you need:
- A VPC with an isolated subnet (no internet access at all)
- An EC2 instance in that isolated subnet
- VPC endpoints for SSM, SSM Messages, EC2, and EC2 Messages
- Properly configured security groups and NACLs
export class BastionSsmStack extends Stack {
    constructor(scope: Construct, id: string, props?: StackProps) {
        super(scope, id, props);

        const vpc = new Vpc(this, "Vpc", {
            maxAzs: 1,
            natGateways: 0,
            subnetConfiguration: [
                {
                    name: "Private",
                    subnetType: aws_ec2.SubnetType.PRIVATE_ISOLATED,
                    cidrMask: 24,
                },
            ],
        });

        const privateNacl = new NetworkAcl(this, "PrivateNacl", {
            vpc: vpc,
            subnetSelection: {
                subnetType: aws_ec2.SubnetType.PRIVATE_ISOLATED,
            },
        });

        const instance = new Instance(this, "Instance", {
            instanceName: "ssm-session",
            instanceType: aws_ec2.InstanceType.of(
                aws_ec2.InstanceClass.T3,
                aws_ec2.InstanceSize.MICRO,
            ),
            machineImage: aws_ec2.MachineImage.latestAmazonLinux2023({}),
            requireImdsv2: true,
            userDataCausesReplacement: false,
            vpc: vpc,
            vpcSubnets: {
                subnetType: aws_ec2.SubnetType.PRIVATE_ISOLATED,
            },
        });

        instance.role.addManagedPolicy(
            aws_iam.ManagedPolicy.fromAwsManagedPolicyName(
                ManagedPolicies.AMAZON_SSM_MANAGED_INSTANCE_CORE,
            ),
        );

        // Configure NACLs for VPC endpoints
        privateNacl.addEntry("VpcEndpoints", {
            direction: aws_ec2.TrafficDirection.INGRESS,
            cidr: aws_ec2.AclCidr.anyIpv4(),
            traffic: aws_ec2.AclTraffic.tcpPort(443),
            ruleAction: aws_ec2.Action.ALLOW,
            ruleNumber: 100,
        });

        privateNacl.addEntry("S3Egress", {
            direction: aws_ec2.TrafficDirection.EGRESS,
            cidr: aws_ec2.AclCidr.anyIpv4(),
            traffic: aws_ec2.AclTraffic.tcpPort(443),
            ruleAction: aws_ec2.Action.ALLOW,
            ruleNumber: 100,
        });

        privateNacl.addEntry("Ephemeral", {
            direction: aws_ec2.TrafficDirection.INGRESS,
            cidr: aws_ec2.AclCidr.anyIpv4(),
            traffic: aws_ec2.AclTraffic.tcpPortRange(1024, 65535),
            ruleAction: aws_ec2.Action.ALLOW,
            ruleNumber: 101,
        });

        privateNacl.addEntry("EphemeralEgress", {
            direction: aws_ec2.TrafficDirection.EGRESS,
            cidr: aws_ec2.AclCidr.anyIpv4(),
            traffic: aws_ec2.AclTraffic.tcpPortRange(1024, 65535),
            ruleAction: aws_ec2.Action.ALLOW,
            ruleNumber: 101,
        });

        // Create VPC endpoints
        const vpcEndpoints = [
            aws_ec2.InterfaceVpcEndpointAwsService.EC2,
            aws_ec2.InterfaceVpcEndpointAwsService.EC2_MESSAGES,
            aws_ec2.InterfaceVpcEndpointAwsService.SSM,
            aws_ec2.InterfaceVpcEndpointAwsService.SSM_MESSAGES,
        ];

        const vpcEndpointSecurityGroup = new aws_ec2.SecurityGroup(
            this,
            "VpcEndpointSecurityGroup",
            { vpc: vpc },
        );

        vpcEndpoints.map((value, index) =>
            vpc.addInterfaceEndpoint(`Endpoint${index}`, {
                service: value,
                subnets: {
                    subnetType: aws_ec2.SubnetType.PRIVATE_ISOLATED,
                },
                securityGroups: [vpcEndpointSecurityGroup],
            }),
        );

        instance.addSecurityGroup(vpcEndpointSecurityGroup);
    }
}
Important note: The aws_ec2.MachineImage.latestAmazonLinux2023({}) configuration will replace your instance with each deployment. This is fine for testing but should be avoided in production environments.
Connecting with SSM
Once your infrastructure is deployed, connecting is straightforward.
Using the AWS Console
The simplest method is through the AWS Console:
- Navigate to your EC2 instance
- Right-click and select "Connect"
- Choose "Session Manager"
- Click "Connect"
That's it! You're now logged into your instance without ever touching port 22.
Using the AWS CLI
For those who prefer the command line (and who doesn't?), you can start a session with:
aws ssm start-session --target i-0d6bbfb0294c19598Replace i-0d6bbfb0294c19598 with your actual instance ID, of course.
Taking It Further: SSH over SSM
While SSM sessions are great, sometimes you need the full power of SSH—perhaps to use scp for file transfers, or to set up port forwarding. The good news? You can use SSH over SSM, getting the best of both worlds.
Prerequisites
First, install the Session Manager plugin for the AWS CLI.
Next, update your SSH configuration in ~/.ssh/config:
# SSH over Session Manager
host i-* mi-*
    ProxyCommand sh -c "aws ssm start-session --target %h --document-name AWS-StartSSHSession --parameters 'portNumber=%p'"
This configuration tells SSH to use SSM as a proxy whenever you connect to a target that looks like an instance ID.
Connecting with SSH
To connect via SSH, you'll need to temporarily associate your public SSH key with the instance metadata. This is done using the EC2 Instance Connect service:
aws ec2-instance-connect send-ssh-public-key \
    --instance-id i-0d6bbfb0294c19598 \
    --instance-os-user ec2-user \
--ssh-public-key file://~/.ssh/ssh_lab.pubImportant: This association only lasts about 60 seconds! You need to initiate your SSH connection within this window. However, once connected, you can keep the session open as long as you need.
Now you can connect using SSH:
ssh -i ~/.ssh/ssh_lab ec2-user@i-0d6bbfb0294c19598Notice that you're using the instance ID as the hostname—no need to know the IP address or configure DNS.
Pro tip: If you want to use the same user for both SSM and SSH sessions, use ssm-user instead of ec2-user. By default, SSM logs you in as ssm-user, while SSH typically uses ec2-user.
File Transfers
The same mechanism works perfectly with scp:
scp -i ~/.ssh/ssh_lab local-file.txt ec2-user@i-0d6bbfb0294c19598:/home/ec2-user/Port Forwarding: Accessing Private Resources
One of the most powerful features of SSM is port forwarding. Imagine you have an RDS database in a private subnet with no direct access from your workstation. With SSM, you can easily create a secure tunnel.
aws ssm start-session \
    --target i-0d6bbfb0294c19598 \
    --document-name AWS-StartPortForwardingSessionToRemoteHost \
    --parameters '{"portNumber":["3306"],"localPortNumber":["3306"],"host":["your-rds-endpoint.region.rds.amazonaws.com"]}'
That's it! Now you can connect to localhost:3306 with your favorite database client, and your traffic will be securely tunneled through SSM to your RDS instance.
This works for any TCP service: databases, Redis, internal APIs—anything you need to access in your private subnets.
Bonus: SSM with ECS
SSM isn't just for EC2—it also works with ECS containers! This is incredibly useful when you need to debug or access a running container in your ECS cluster.
Setting Up ECS Exec
To enable SSM access to your ECS containers, you need to:
- Enable ECS Exec on your service
- Ensure your containers have a TTY attached
Here's how to do it in CDK:
export class BastionEcsStack extends Stack {
    constructor(scope: Construct, id: string, props?: StackProps) {
        super(scope, id, props);

        const vpc = aws_ec2.Vpc.fromLookup(this, "Vpc", {
            vpcName: VPC_NAME,
        });

        const registry = new aws_ecr.Repository(this, "Repository", {
            repositoryName: "bastion",
        });

        const cluster = new aws_ecs.Cluster(this, "Cluster", {
            enableFargateCapacityProviders: true,
            vpc: vpc,
        });

        const bastionTask = new aws_ecs.TaskDefinition(this, "BastionTask", {
            compatibility: Compatibility.FARGATE,
            cpu: "256",
            memoryMiB: "512",
            runtimePlatform: {
                cpuArchitecture: aws_ecs.CpuArchitecture.ARM64,
                operatingSystemFamily: aws_ecs.OperatingSystemFamily.LINUX,
            }
        });

        const bastion = bastionTask.addContainer("Bastion", {
            image: aws_ecs.ContainerImage.fromEcrRepository(registry, "amazonlinux"),
            pseudoTerminal: true, // This enables TTY
        });

        const bastionService = new aws_ecs.FargateService(this, "BastionService", {
            cluster: cluster,
            taskDefinition: bastionTask,
            enableExecuteCommand: true, // This enables ECS Exec
            vpcSubnets: {
                subnetType: SubnetType.PRIVATE_ISOLATED,
            },
        });
    }
}
Connecting to ECS Containers
The SSM target for ECS containers is built from three components (separated by underscores):
ecs:CLUSTER-NAME_TASK-ID_CONTAINER-RUNTIME-ID
For example:
aws ssm start-session \
    --target ecs:MonCluster_e0f752e4db444b4aa508fc496afde8e2_e0f752e4db444b4aa508fc496afde8e2-806556010
Port forwarding works with ECS containers too:
aws ssm start-session \
--target ecs:MonCluster_e0f752e4db444b4aa508fc496afde8e2_e0f752e4db444b4aa508fc496afde8e2-806556010 \
--document-name AWS-StartPortForwardingSessionToRemoteHost \
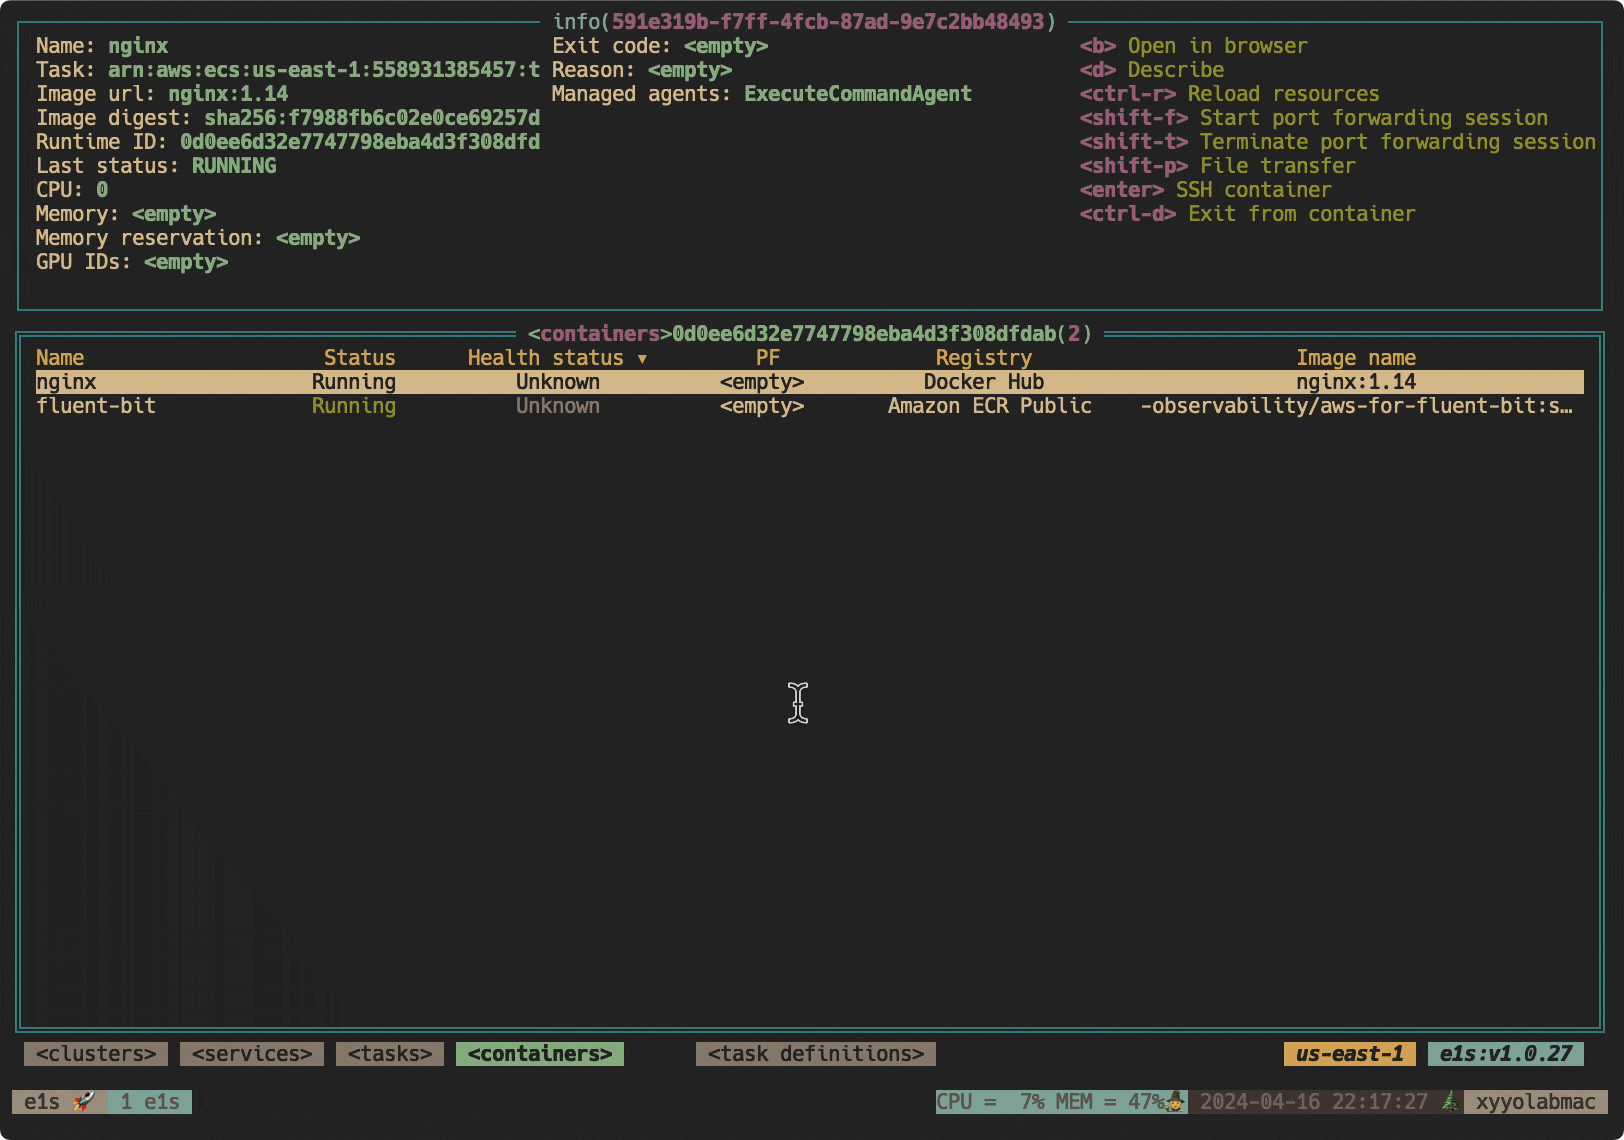
--parameters '{"portNumber":["3306"],"localPortNumber":["3306"],"host":["your-rds-endpoint.region.rds.amazonaws.com"]}'Pro tip: These commands can get quite long. Check out e1s, a fantastic CLI tool that makes working with ECS much easier. Just select your container and press Shift+F to start port forwarding!
Why This Matters
Since implementing SSM-based access at Necko Technologies, we've seen significant improvements in our security posture and operational efficiency:
Enhanced Security: No more open SSH ports on the internet. No more worrying about leaked private keys. Access is controlled entirely through IAM policies, giving us fine-grained control over who can access which instances.
Better Audit Trail: Every SSM session is logged in CloudTrail. We can see exactly who accessed which instance, when, and what they did. This is invaluable for compliance and security investigations.
Simplified Operations: No more managing SSH key pairs across team members. When someone joins the team, we grant them IAM permissions. When they leave, we revoke those permissions. Simple.
Flexible Access: Whether we need a quick terminal session, a full SSH connection, or secure port forwarding to a database, SSM handles it all seamlessly.
Works Everywhere: Private subnets, isolated subnets, ECS containers—SSM works consistently across our entire AWS infrastructure.
Getting Started
Ready to implement SSM access in your own infrastructure? Here's the quickest path:
-
Ensure instances have the SSM agent (it comes pre-installed on Amazon Linux 2023, Amazon Linux 2, Ubuntu, and other major distributions)
-
Attach the SSM policy to your instance profile:
AmazonSSMManagedInstanceCore -
Test the connection using the AWS Console or CLI
-
Set up SSH over SSM if you need advanced features like file transfers
Conclusion
Traditional SSH access might be familiar, but it's not the most secure or manageable solution for modern cloud infrastructure. AWS Systems Manager provides a better way—one that eliminates the need for open ports, simplifies access management, provides comprehensive audit logs, and works seamlessly with private networks.
At Necko Technologies, adopting SSM has made our infrastructure more secure and our operations smoother. We no longer worry about SSH key management, we have full visibility into who accesses our instances, and our security team sleeps better at night knowing that port 22 is closed.
If you're still using traditional SSH for EC2 access, give SSM a try. Your security team (and your future self) will thank you.